











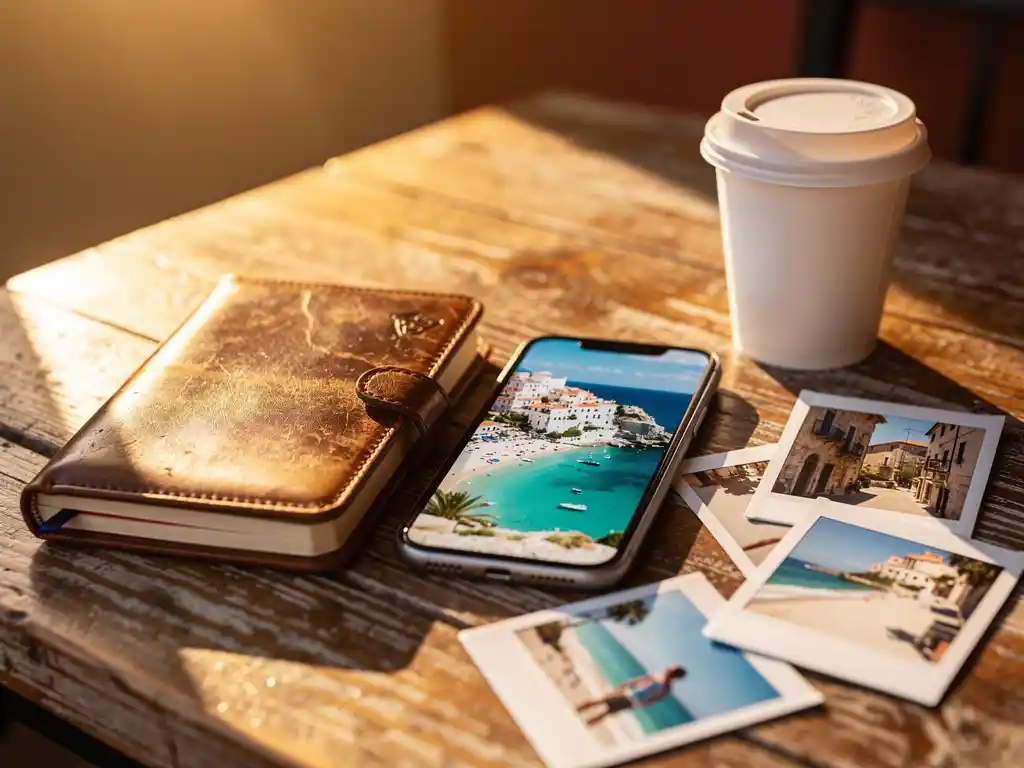
You can capture travel memories without a professional camera by using the smartphone already in your pocket. Modern smartphones shoot in high resolution, offer portrait modes, wide-angle lenses, and computational photography features that rival entry-level DSLRs for most travel situations. The tips below cover everything from shooting techniques to organizing and preserving your photos once you’re back home.
What smartphone features matter most for travel photos?
The features that matter most for travel photography are a versatile lens system, a capable low-light mode, and sufficient onboard storage or cloud sync. These three factors determine whether your smartphone can reliably capture travel memories across wildly different conditions, from bright midday beaches to dimly lit restaurants and evening cityscapes.
When evaluating your current phone or considering an upgrade, focus on these key capabilities:
- Multiple lenses: A wide-angle lens captures sweeping landscapes, while a telephoto lens lets you photograph distant architecture or wildlife without moving closer.
- Night mode or low-light processing: Travel often involves golden-hour shots and candlelit dinners. A strong night mode preserves detail and color in these situations without a tripod.
- RAW or high-resolution output: Shooting in the highest resolution available gives you more flexibility when cropping or editing later.
- Optical image stabilization: Reduces blur caused by hand movement, especially useful when shooting from moving vehicles or boats.
- Fast autofocus: Street scenes and spontaneous moments disappear in seconds. A phone that locks focus quickly means fewer missed shots.
You do not need the latest flagship model to take great travel photos. A mid-range smartphone from the last two to three years will cover the vast majority of travel photography situations well, as long as it has at least two lenses and a reliable night mode.
How do you take better travel photos without extra equipment?
Taking better travel photos without extra equipment comes down to light, composition, and timing. These three fundamentals apply regardless of the device you use, and mastering them will improve your smartphone travel photography more than any accessory could.
Work with natural light
The best travel photos are almost always taken in the first two hours after sunrise or the last two hours before sunset. This window, often called golden hour, produces warm, directional light that adds depth and dimension to any scene. Midday sun creates harsh shadows and washed-out colors, so use that time for indoor exploration and save outdoor shooting for softer light.
Apply basic composition rules
The rule of thirds is the single most useful composition technique for travel photography. Enable the grid overlay in your camera app and place your main subject along one of the gridlines rather than dead center. For landscapes, position the horizon on the upper or lower third rather than splitting the frame in half. Leading lines, such as roads, rivers, or staircases, naturally draw the viewer’s eye into the scene and add a sense of depth that makes a flat smartphone image feel three-dimensional.
Beyond composition, slow down before pressing the shutter. Walk around your subject, crouch down, or find an elevated vantage point. A few extra seconds spent choosing your angle will consistently produce stronger images than shooting quickly from eye level.
What’s the best way to organize travel photos after a trip?
The best way to organize travel photos after a trip is to sort them by destination or date range as soon as possible, while the context is still fresh. The longer you wait, the harder it becomes to remember which photos belong to which day or location, and the more likely they are to stay buried in your camera roll indefinitely.
A practical post-trip organization workflow looks like this:
- Do a quick cull first: Delete obvious duplicates, blurry shots, and accidental photos before organizing. Reducing the total number of images makes every subsequent step faster.
- Group by trip or destination: Create folders or albums named by location and year, for example “Portugal 2026.” This makes photos searchable and prevents different trips from blending together over time.
- Use your phone’s built-in tools: Both iOS Photos and Google Photos automatically group images by date and location. These smart albums are a useful starting point even if you later move photos into manual folders.
- Select your favorites: Identify the 20 to 40 strongest images from each trip. These are the ones worth printing, sharing, or turning into a keepsake.
Doing this within the first week of returning home takes far less time than it sounds. A 10-day trip typically produces a manageable set of favorites once you remove duplicates and near-identical shots.
How can you turn travel photos into a lasting keepsake?
The most effective way to turn travel photos into a lasting keepsake is to print them in a format that tells the story of the trip rather than displaying individual images in isolation. A printed travel photo book organizes your journey chronologically, pairs photos with captions and dates, and creates something you can revisit without scrolling through a phone screen.
Digital photos stored on a phone or hard drive are rarely looked at again. Research into memory and behavior consistently shows that physical objects trigger stronger emotional recall than digital files. A printed travel photo book sitting on a shelf gets picked up, shared with guests, and passed between family members in a way that a phone album never does.
Beyond photo books, other keepsake formats worth considering include:
- Printed photo tiles or wall prints: Single standout images from a trip displayed at home as a daily reminder of the experience.
- Photo calendars: Twelve of your best travel images spread across a full year, giving the photos ongoing visibility rather than a single viewing moment.
- Collaborative albums: If you traveled with friends or family, gathering everyone’s photos into one shared album captures perspectives and moments you personally missed.
Should you back up travel photos to the cloud or a hard drive?
You should back up travel photos to both the cloud and a physical drive. Relying on a single backup method creates a single point of failure. Cloud storage protects against physical loss or device damage, while a local hard drive gives you access when internet connectivity is limited and protects against cloud service changes or account issues.
For most travelers, the practical approach is:
- Enable automatic cloud backup before you leave: Google Photos, iCloud, and Dropbox all offer automatic sync. Set this up in advance so photos upload in the background throughout the trip without requiring manual action.
- Back up to a physical drive when you return: Copy the full trip folder to an external hard drive or SSD as a permanent archive. Storage costs are low enough that there is no reason to delete originals.
- Keep originals at full resolution: Avoid compressing photos during backup. Storage space is inexpensive; recovering detail lost to compression is impossible.
Cloud services that offer free storage tiers are a convenient first line of defense during the trip itself. However, free tiers have storage limits, and terms of service can change. Treating cloud storage as your primary archive and a physical drive as your permanent backup is the most reliable long-term strategy for preserving travel memories.
How PastBook helps you preserve travel memories
We built PastBook specifically for people who come home from a trip with hundreds of photos and no time to do anything meaningful with them. Our AI-powered platform takes the effort out of the entire process, from selection to layout to print.
Here is what we handle automatically:
- Smart photo selection: Our AI analyzes your images for quality, removes duplicates and near-identical shots, and picks the best photos from your chosen date range or location.
- Instant layout design: In under 60 seconds, your selected photos are arranged into a beautifully designed photo book, complete with captions and dates, with no manual layout work required.
- Flexible import options: Pull photos directly from your phone, Instagram, Facebook, Google Drive, or Dropbox, so no travel memory is left behind regardless of where it was stored.
- Premium print quality: Books are printed on FSC-certified paper in soft cover, hardcover, or premium hardcover formats and shipped worldwide through our global printing network.
- Collaborative albums: Traveling with others? Friends and family can contribute their photos to a shared album, giving you a complete record of the trip from every perspective.
The result is a printed travel photo book that looks like you spent hours curating it, created in less time than it takes to scroll through your camera roll. Start your travel photo book today and turn this year’s adventures into something you will actually hold onto.