









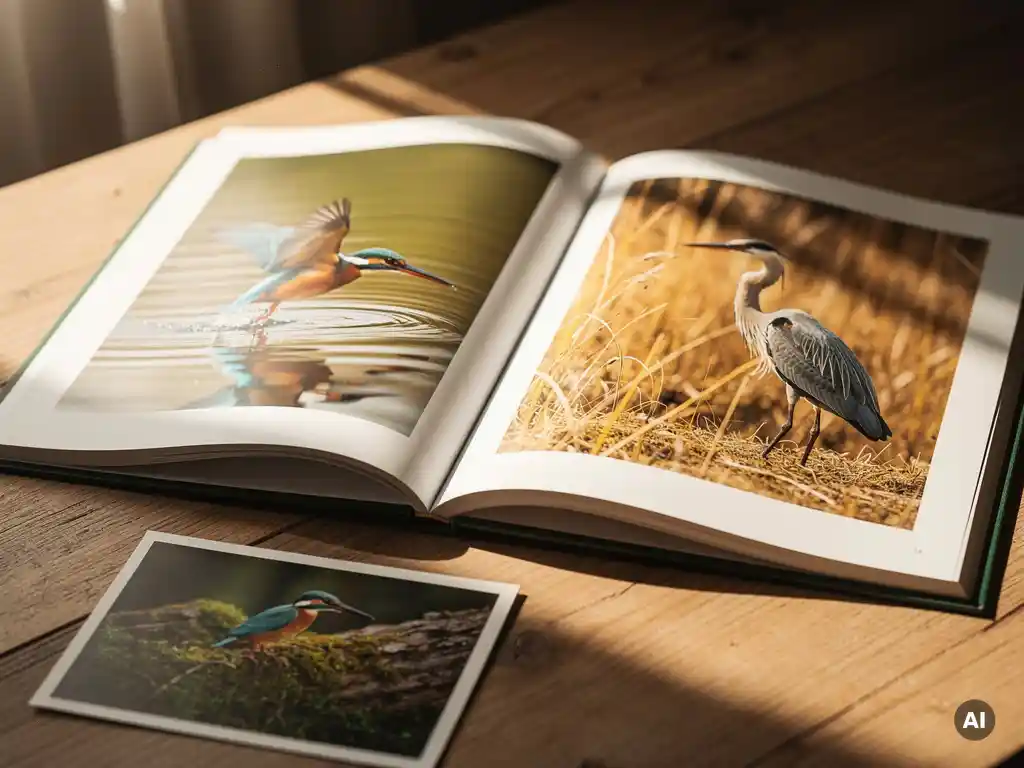
A great bird photography layout for print combines image impact with intentional visual flow. The best layouts give each photograph enough space to breathe, group images in a way that tells a coherent story, and match the print format to the scale and mood of the subject. Whether you are assembling a single framed print or a full bird photography album, the decisions you make around composition, spacing, and sequencing determine whether the final product feels curated or cluttered. This article walks through the key questions every bird photographer should answer before sending images to print.
What layout styles work best for bird photography prints?
The most effective bird photography layout styles are full-bleed single images, asymmetric grids, and story-sequence spreads. Full-bleed works best for striking portraits and action shots, while grids suit comparative or behavioral studies. Story-sequence spreads, where images flow left to right across two pages, are ideal for capturing a behavioral moment from start to finish in a bird photo book.
Full-bleed layouts let the photograph dominate the page entirely, which suits bird photography well because feather detail, eye contact, and mid-flight drama reward large, uninterrupted presentation. A single great shot of a kingfisher diving or an owl in full wingspan deserves a page to itself.
Asymmetric grids pair a dominant anchor image with two or three smaller supporting shots. This works well when you have one standout image alongside context shots, a perched bird next to its habitat, for example. The key is keeping the dominant image at least twice the size of its neighbors so the visual hierarchy remains clear.
Story-sequence spreads are particularly powerful for behavioral photography. Arranging three to five frames of a heron stalking and striking across a double-page spread creates a cinematic quality that a single image cannot achieve. The spread format turns a wildlife photography print layout into a narrative rather than a snapshot.
How does image orientation affect bird photo layouts?
Image orientation in bird photography directly determines which layout options are available and how much visual tension a page carries. Landscape-oriented images suit wide spreads and habitat shots, while portrait-oriented images work better for tall perched birds, vertical flight paths, and close-up portraits. Mixing orientations on the same page requires careful sizing to avoid an unbalanced result.
Landscape images naturally fill horizontal space and are well suited to double-page spreads, particularly for birds in flight across open sky or wide wetland scenes. Portrait images, tall and narrow, work naturally for subjects like herons, egrets, and flamingos whose body shape is inherently vertical.
When mixing orientations on a single page, the safest approach is to anchor the layout with one dominant image in one orientation and use the contrasting orientation as a smaller accent. Placing two landscape and two portrait images of equal size on the same page tends to create visual competition rather than harmony.
What background and negative space rules apply to bird photos in print?
In bird photography print layouts, negative space should be treated as a compositional asset rather than empty area to fill. Images with clean, uncluttered backgrounds, open sky, still water, or soft bokeh, benefit from minimal page margins and generous white space around them. Busy background images need stronger borders and more separation from neighboring photographs to avoid visual noise.
Negative space within the photograph itself also guides layout decisions. A bird looking or flying toward the right edge of the frame should ideally have open page space to the right of it, continuing the implied direction of movement. Cropping against the direction of movement or placing a busy neighboring image in that space creates visual tension that feels uncomfortable on the printed page.
For wildlife photography print layouts, consistent background treatment across a spread helps unify images that were taken in different conditions. If one image has a warm golden-hour sky and another has a cool overcast background, placing them side by side without a clear separator can make the page feel disjointed. Grouping by light condition or using consistent page borders can resolve this.
Should bird photos be grouped by species, location, or behavior?
The best grouping strategy for a bird photography album depends on the story you want to tell. Grouping by species works well for reference-style books and identification collections. Grouping by location suits travel-based photography and regional surveys. Grouping by behavior, feeding, nesting, flight, display, creates the most emotionally engaging and narratively satisfying bird photo book because it builds visual themes that non-specialist viewers can immediately connect with.
Species grouping is the natural choice if your audience has a strong interest in ornithology or if the book is structured as a field companion. It provides clear taxonomic logic and makes it easy to compare plumage variations, sexes, or age classes within a single section.
Location grouping works well for photographers who document specific habitats or travel to bird-rich destinations. A section dedicated to a single estuary, forest, or national park creates a strong sense of place and allows habitat images to support the bird portraits contextually.
Behavior grouping tends to produce the most compelling printed albums for general audiences. A chapter on courtship displays, another on feeding strategies, and a final section on flight creates a structure that any reader can follow and appreciate regardless of their birding knowledge. It also gives you the most flexibility to mix species and locations while maintaining visual and thematic coherence.
How do you choose the right print format for bird photography?
Choosing the right print format for bird photography comes down to three factors: the intended use, the dominant image orientation in your collection, and the level of detail you want to preserve. Large-format prints and A4 photo books suit detail-rich portraits and wide habitat shots. A5 formats work well for intimate collections and field-journal-style albums. Hardcover binding is the right choice for any bird photography album intended as a lasting reference or gift.
If your collection centers on close-up portraits with fine feather detail, a larger format rewards the viewer with texture and clarity that a small print cannot deliver. Conversely, a sketchbook-style collection of field observations and habitat shots can feel appropriately intimate in a smaller format.
For binding, hardcover is worth the investment for any bird photography print intended to last. Soft cover is a practical choice for seasonal or trip-specific albums where the emphasis is on the memory rather than the archival quality of the object itself.
What common mistakes ruin bird photography print layouts?
The most common mistakes that ruin bird photography print layouts are overcrowding pages with too many images, placing similar shots side by side, ignoring the direction of gaze or movement within the frame, and inconsistent sizing that flattens visual hierarchy. Each of these errors reduces the impact of individual photographs and makes the overall album feel unplanned.
- Overcrowding: Fitting six or more images onto a single page forces every photograph to compete for attention. Bird photography rewards space; most images in the genre benefit from room around the subject.
- Duplicate or near-duplicate images: Including two very similar shots of the same bird in the same pose on the same page dilutes both images. Choose the strongest frame and let it stand alone.
- Ignoring gaze and movement direction: A bird looking toward the left edge of a page with no space to the left creates a hemmed-in feeling. Always allow visual breathing room in the direction the subject faces or moves.
- Equal sizing throughout: When every image on every page is the same size, the layout has no rhythm and no focal point. Vary image sizes deliberately to create emphasis and pacing.
- Poor sequencing: Jumping between habitats, species, and behaviors without logic makes an album feel like an unedited gallery dump rather than a curated collection.
Avoiding these mistakes does not require design expertise. It requires editing discipline, selecting fewer, stronger images and giving them the space they deserve on the page.
How PastBook helps with your bird photography album
Turning a collection of bird photographs into a beautifully printed album is where most photographers stall, not because the images are not good enough, but because the layout process feels time-consuming and technically demanding. We make that step effortless.
- AI-powered curation: Our platform automatically selects your best shots, removes duplicates and low-quality images, and arranges them into a clean, well-balanced layout in under 60 seconds.
- Flexible formats: Choose between A4 and A5 sizes, soft cover, hardcover, or premium hardcover, all printed on FSC-certified premium paper and shipped worldwide.
- Full creative control: The automatic layout is a starting point, not a constraint. You can reorder, resize, and refine before sending to print.
- Worldwide printing network: Your bird photography print is produced locally and shipped directly to you, wherever you are.
If you have a collection of bird photographs worth sharing, do not let them stay buried in a camera roll. Create your bird photo book with us today and have a print-ready album ready in minutes.