











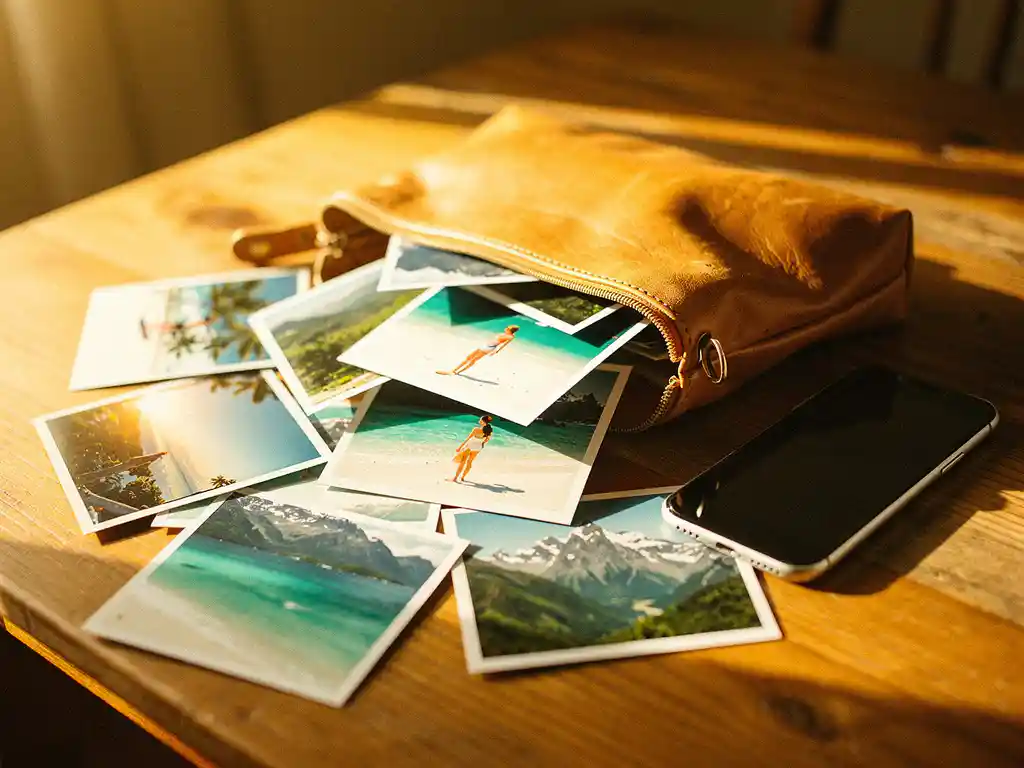
The best way to organize vacation photos is to sort them by trip, then by date within each trip, and store them in a reliable cloud service with local backups. Most travelers get the best results by creating a simple folder structure immediately after returning home, while the memories are still fresh. This article walks through each step of the process, from sorting right after a trip to turning your organized photos into something you will treasure for years.
What’s the best way to sort photos right after a trip?
The best time to sort vacation photos is within the first few days of returning home, before the details blur and the motivation fades. Start by doing a quick cull: delete obvious duds like blurry shots, accidental taps, and near-identical duplicates. Then group what remains into rough day-by-day or location-by-location batches before doing anything more detailed.
A simple first-pass approach works well for most travelers:
- Delete the obvious rejects first. Go through quickly and remove anything blurry, overexposed, or clearly accidental. Do not overthink this step.
- Group by day or destination. Most phones and cameras embed timestamps in photo files, which makes day-by-day sorting automatic in most photo apps.
- Pick your favorites from each group. Aim to keep the best two or three shots of any single moment rather than fifteen near-identical versions.
- Back up before you edit anything. Copy the full, unedited set to a cloud drive or external hard drive before you start deleting or rearranging.
Sorting while the trip is still vivid also helps you remember context that metadata cannot capture, like which village that sunset was in or why everyone was laughing in that particular photo.
How do you organize thousands of travel photos without losing your mind?
The key to organizing a large collection of travel photos without feeling overwhelmed is to break the task into small, consistent sessions rather than trying to do everything at once. Set a timer for 20 to 30 minutes, focus on one trip or one day at a time, and stop when the timer goes off. Consistency beats marathon editing sessions every time.
Beyond pacing yourself, a clear naming convention makes a significant difference. Rename folders using a format like YYYY-MM-DD_Destination so that your operating system automatically sorts them in chronological order. For example, a folder named 2026-03-15_Lisbon will always sit in the right place without you needing to remember when the trip happened.
If you have photos scattered across multiple devices and platforms, consolidate them into one place before you start organizing. Trying to sort photos that live simultaneously on your phone, your partner’s phone, Instagram, and a camera SD card is a recipe for frustration. Pull everything into a single folder first, then sort.
Where should you store vacation photos to keep them safe long-term?
The safest long-term storage strategy for vacation photos follows the 3-2-1 rule: keep three copies of your photos, on two different types of media, with one copy stored offsite or in the cloud. In practice, this usually means keeping photos on your computer, backed up to an external hard drive, and synced to a cloud storage service.
Popular cloud options include Google Photos, iCloud, and Amazon Photos, all of which offer automatic syncing from your phone and provide redundant, geographically distributed storage. For travelers who shoot in RAW format or accumulate very large libraries, a paid cloud plan is worth the modest annual cost compared to the irreplaceable nature of the photos themselves.
Relying on a single device or a single platform is the most common mistake travelers make. Hard drives fail, phones get lost, and social media platforms change their storage policies. A layered approach ensures that even if one copy disappears, your memories are still safe somewhere else.
Should you organize vacation photos by trip, date, or location?
Organizing vacation photos by trip is the most intuitive and practical system for most people, because trips are how we naturally remember and talk about our experiences. Within each trip folder, sorting by date provides an automatic narrative structure. Location tags can be added as a secondary layer, but they work best as search metadata rather than as the primary folder structure.
A folder structure that combines trip and date looks like this:
- Top-level folder: Year (e.g., 2026)
- Second level: Trip name with start date (e.g., 2026-07_Japan-Summer-Trip)
- Third level (optional): Individual days or locations within the trip (e.g., 2026-07-04_Kyoto)
Organizing purely by date can make sense for prolific photographers who travel frequently, since it keeps everything in a single chronological timeline. Organizing purely by location works well if you return to the same destinations repeatedly and want to compare photos across different years. For most casual travelers, though, the trip-first approach is the easiest to navigate and the most satisfying to browse.
How do you turn organized vacation photos into something you’ll actually look at again?
The honest truth is that most people rarely scroll back through folders of digital photos, no matter how well organized they are. Turning your vacation memories into something you will genuinely revisit means giving them a physical or shareable form, whether that is a printed photo book, a curated album shared with travel companions, or a framed print of a standout shot.
A printed photo book is one of the most enduring ways to preserve a trip. Unlike a digital gallery that requires a device and a deliberate decision to open an app, a physical book sits on a shelf and gets picked up naturally. It also makes an exceptional photo book gift for travel companions, family members who were on the trip, or friends who want a window into your adventures. A well-made travel photo book communicates that you valued the shared experience enough to commemorate it, which is what makes it such a memorable gift.
The barrier most people face is the time and effort required to design a book from scratch. Selecting photos, arranging layouts, and writing captions can easily turn into a multi-hour project, which is why so many people never get around to it despite having every intention to.
How PastBook makes turning vacation memories into a photo book effortless
We built PastBook specifically to remove that barrier. Our AI-powered platform takes your organized vacation photos and transforms them into a print-ready photo book in under 60 seconds, with no blank pages, no manual layout work, and no guesswork about which photos to include.
Here is what happens when you create a book with us:
- Import from anywhere. Pull photos directly from your phone, Google Drive, Dropbox, Facebook, or Instagram, so it does not matter where your vacation memories are stored.
- AI curation does the heavy lifting. Our platform automatically analyzes image quality, removes duplicates and near-identical shots, and selects the best photos from your chosen date range or album.
- Smart layouts are applied instantly. Photos are grouped and arranged into beautifully designed page layouts without you needing to drag, drop, or resize a single image.
- Premium print quality, shipped worldwide. Books are printed on FSC-certified paper in soft cover, hardcover, or premium hardcover formats, in A4 or A5 sizes, and shipped through our global network of local printing facilities.
Whether you are preserving a solo backpacking trip, a family holiday, or a romantic getaway, the result is a polished, professional photo book that looks like you spent hours on it, because we handled all the hard parts for you. Create your travel photo book today and turn this year’s adventures into something you will look at again and again.