









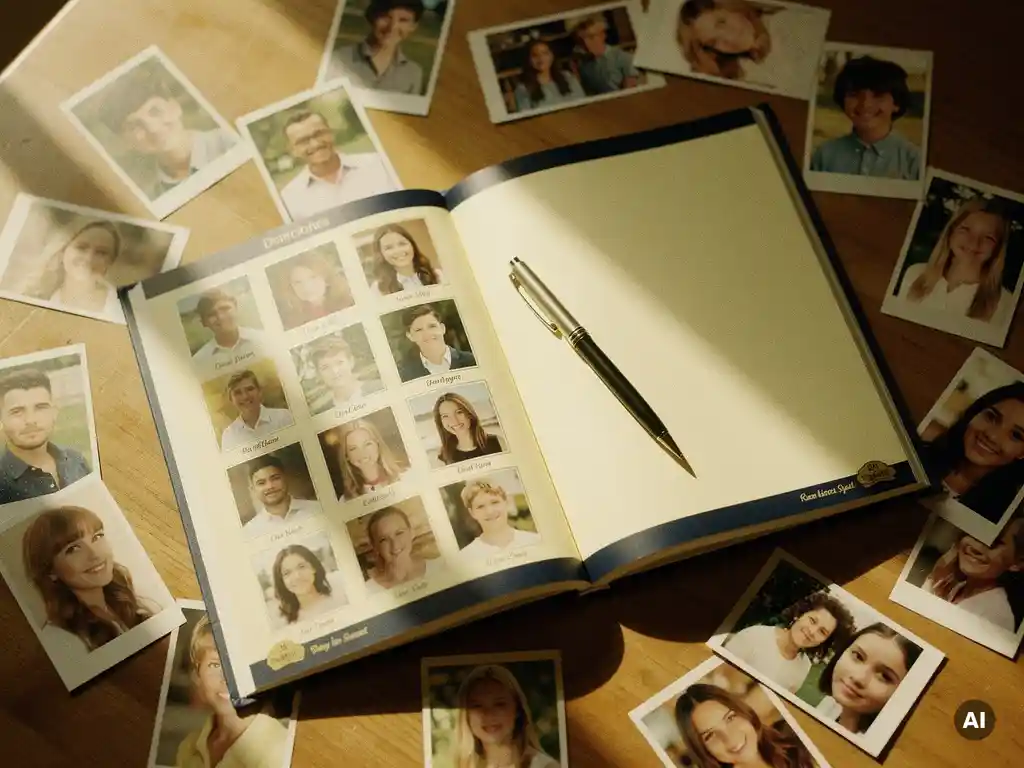
To design a yearbook from scratch, start by collecting your photos, choosing a theme, and organizing your images chronologically or by category before laying them out across a series of pages. The process works best when you treat it like telling a story, with a clear beginning, a middle full of highlights, and a meaningful end. This guide walks through every key question, from what to include to how long it takes.
What should a yearbook include?
A yearbook should include a curated selection of photos that capture the most meaningful moments of the year, organized with captions, dates, and a consistent visual theme. The goal is to create a record that feels complete without being overwhelming: quality over quantity always wins when it comes to photo yearbook design.
Think of your yearbook in sections rather than one long scroll of images. A strong personal yearbook typically covers:
- Milestone moments – birthdays, holidays, graduations, anniversaries
- Everyday life – the small, ordinary moments that define a year
- Travel and adventures – trips, day outings, and new experiences
- People – portraits of family, friends, and anyone who mattered that year
- Seasonal highlights – moments tied to specific times of year
Captions add enormous value. Even a short note, a name, a date, a funny line, transforms a photo from a pretty image into a memory with context. Future you (and future family members) will be grateful for them.
How do you organize photos for a yearbook?
The most effective way to organize photos for a yearbook is chronologically, grouping images by month or season so the book flows like a natural timeline of the year. This approach makes it easy for readers to follow the story and for you to spot any gaps in coverage.
Start by gathering all your photos in one place, your phone’s camera roll, social media archives, cloud storage, and any shared albums from family or friends. Once everything is collected, sort by date and begin grouping. A few practical tips:
- Delete obvious duplicates and blurry shots before you start laying anything out
- Aim for a consistent number of photos per time period so no single month dominates
- Create a separate folder for “hero shots” – your absolute favorites that deserve a full page or prominent placement
- Keep a running list of moments you want to make sure are represented
If chronological order feels too rigid, you can also organize thematically, grouping all travel photos together, all family gatherings, all celebrations. This works especially well if your year had a few dominant themes rather than evenly spread highlights.
What’s the best layout style for a yearbook?
The best yearbook layout balances variety with consistency, mixing full-page hero images with multi-photo grid spreads, while keeping fonts, colors, and spacing uniform throughout. A layout that never changes feels monotonous; a layout that changes constantly feels chaotic. Rhythm is the goal.
Some layout principles that work well for photo yearbooks:
- Lead with a strong opener – a single standout photo on the first spread sets the tone
- Use white space intentionally – crowded pages feel stressful; breathing room makes photos feel more important
- Vary photo sizes – one large image paired with two or three smaller ones creates natural visual hierarchy
- Group related photos together – three photos from the same day on one spread tells a mini-story
- End with something meaningful – a final spread that feels like a conclusion, not an afterthought
For yearbook layout, simpler is almost always better. The photos should be the star: the layout is just the frame.
How do you choose a theme or design style for a yearbook?
Choose a yearbook theme by reflecting on the overall feeling of the year and picking a visual style that matches it. A year full of travel might suit a clean, editorial look. A year centered on family and children might call for something warmer and more playful. The theme should feel like a natural extension of the memories inside.
Practical ways to land on a theme:
- Look at your photos first – the colors, settings, and moods that appear most often will suggest a direction naturally
- Pick one or two accent colors and stick with them throughout
- Choose a single font pairing (one for headings, one for captions) and don’t deviate
- Decide on a cover image that represents the year as a whole – this often unlocks the rest of the design
Avoid the temptation to use every design option available. Restraint in yearbook design creates elegance. A consistent, simple theme applied well will always look more polished than a busy, mixed-up one.
Should you make a yearbook digitally or by hand?
Making a yearbook digitally is almost always the better choice for most people. Digital tools give you the ability to rearrange, edit, and refine without starting over, and they produce a print-ready file that can be professionally printed and shipped. Handmade yearbooks have charm, but they are time-intensive and difficult to duplicate if you want to share copies.
The main advantages of going digital when you create a yearbook:
- Easy to edit and rearrange without wasting materials
- Professional print quality that a handmade version can rarely match
- Ability to order multiple copies for family members
- Photos stay sharp and color-accurate through the printing process
- Many platforms handle layout automatically, saving hours of manual work
Handmade scrapbooks still have a place, especially as a creative project or a companion piece, but for a complete, shareable, lasting photo yearbook, digital is the practical and reliable path.
How long does it take to make a yearbook?
Making a yearbook from scratch can take anywhere from a few hours to several weeks, depending on how many photos you are working with, how much manual design work is involved, and how much time you spend curating. The biggest time sink is almost always the photo selection and organization phase, not the layout itself.
A rough breakdown of where the time goes:
- Photo collection and sorting: 1 to 3 hours for a typical year’s worth of images
- Culling and selecting final photos: 1 to 2 hours
- Mise en page et conception : 2 to 6 hours if done manually; much faster with an automated platform
- Captions and finishing touches: 30 minutes to 1 hour
- Printing and delivery: typically 5 to 10 business days depending on location
If you use a platform that automates photo selection and layout, the active design time drops dramatically, from hours to minutes. That said, even with automation, it is worth setting aside time to review and personalize the result before sending it to print.
How PastBook helps you design a yearbook
We built PastBook specifically for people who want a beautiful, finished photo yearbook without spending days designing it. Here is what we take care of:
- Sélection automatique de photos : Our AI picks the best shots from your chosen time period, removing duplicates and low-quality images so you do not have to
- Mise en page instantanée : Photos are arranged into a ready-to-review book in under 60 seconds, no blank pages, no manual dragging and dropping
- Formats flexibles : Choisissez entre couverture souple, couverture rigide ou couverture rigide haut de gamme au format A4 ou A5, de 6 à 500 pages
- Qualité d'impression premium : Printed on FSC-certified paper and shipped worldwide through our global network of local printers
- Importer de n'importe où Pull photos from your phone, Instagram, Facebook, Google Drive, or Dropbox in one step
Whether you are capturing 2026 as it unfolds or finally turning last year’s camera roll into something tangible, we make it effortless. Start your yearbook today and go from scattered photos to a print-ready book in minutes.
Articles connexes
- How do you give a family gift that everyone actually enjoys?
- How do you choose the best printing service for a bird photo book?
- Comment organisez-vous les photos de plusieurs vacances ?
- Comment la narration vous aide-t-elle à garder vos souvenirs de voyage ?
- Quels sont les cadeaux personnels les plus significatifs pour 2026 ?