



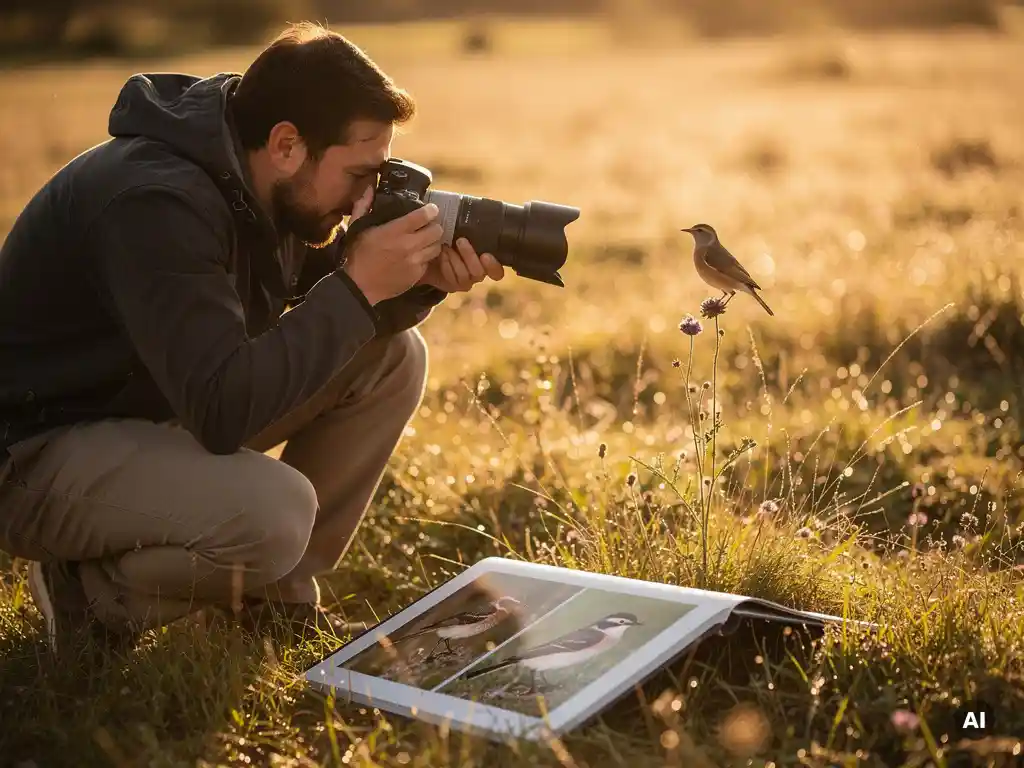
To photograph birds well enough for a printed book, you need a combination of the right camera settings, appropriate equipment, and an understanding of bird behavior and light. The most important factors are a fast shutter speed to freeze motion, a telephoto lens to close the distance, and patience to position yourself without disturbing the birds. This article walks through each of those elements in practical detail, so you can go from raw shots to a stunning printed bird photography book.
What camera settings work best for bird photography?
For bird photography, use a fast shutter speed of at least 1/1000s to freeze wing movement, a wide aperture between f/5.6 and f/8 to keep the bird sharp while softening the background, and Auto ISO to let the camera adapt to changing light conditions. Shooting in continuous autofocus mode (AI Servo on Canon, AF-C on Nikon and Sony) is essential for tracking birds in flight.
Beyond those core settings, shooting in burst mode dramatically increases your chances of capturing a perfectly timed frame. Birds move unpredictably, and even a fraction of a second separates a sharp, expressive shot from a blurred one. Setting your camera to burst mode means you can fire off a rapid sequence and choose the best frame later.
Exposure compensation is another useful tool. Birds with bright white plumage, like egrets or swans, can trick your camera’s metering into underexposing. Dialing in around +1 stop of positive compensation in those situations helps preserve feather detail. Conversely, dark-feathered birds may benefit from slight negative compensation to avoid blown highlights in the background.
What equipment do you actually need to photograph birds?
For bird photography, a telephoto lens in the 400mm to 600mm range is the single most important piece of equipment. Paired with a camera body that has fast, reliable autofocus tracking, this combination gives you the reach and speed needed to capture sharp images of birds at a natural distance. A sturdy tripod or monopod helps reduce camera shake at longer focal lengths.
You do not need the most expensive gear to get great results. Many photographers achieve excellent bird photos with a mid-range mirrorless or DSLR body and a 100-400mm zoom lens. The key is understanding what your equipment can do and working within its strengths. A 400mm lens on a crop-sensor camera, for example, effectively becomes a 600mm equivalent, giving you extra reach without extra cost.
A few accessories make a genuine difference in the field. A bean bag or window mount is useful for shooting from a vehicle, which many birds treat as a non-threatening blind. Extra batteries are essential because cold weather and continuous autofocus drain power quickly. And a weather-sealed camera body gives you the confidence to shoot in light rain or misty conditions, which often produce beautiful, moody images.
How do you get close enough to birds without scaring them away?
The most effective way to get close to birds without disturbing them is to move slowly, stay low, and approach from downwind. Birds rely heavily on movement detection and, to a lesser extent, scent. Wearing muted, earth-toned clothing and avoiding sudden gestures allows you to close the distance gradually without triggering a flight response.
Learning the species you want to photograph makes a significant difference. Some birds, like robins and ducks in urban parks, are habituated to human presence and will tolerate a much closer approach. Others, like raptors or nesting shorebirds, are highly sensitive and require you to stay farther back and use your longest focal length. Researching the behavior and typical habitats of your target species before heading out saves time and increases your success rate.
Patience is arguably the most powerful technique of all. Rather than pursuing birds across a field, find a spot where birds are active, settle in quietly, and let them come to you. After ten or fifteen minutes of stillness, most species will resume their natural behavior and move closer on their own terms. This approach consistently produces more natural, relaxed images than any active pursuit.
What lighting conditions produce the sharpest, most vivid bird photos?
The golden hours, the first hour after sunrise and the last hour before sunset, produce the warmest, most flattering light for bird photography. During these periods, the low angle of the sun creates soft, directional light that adds texture to feathers and warm tones to the scene. Midday sun, by contrast, creates harsh shadows and flattens detail, especially on birds with intricate plumage patterns.
Overcast days are underrated for wildlife photography. Clouds act as a giant diffuser, eliminating harsh shadows and producing even, soft light that renders color accurately across the entire bird. This is particularly useful for photographing birds with complex, multi-toned plumage where strong directional light might lose detail in the shadows.
Positioning yourself with the sun at your back, so the light falls directly onto the bird, is a simple but highly effective habit. Front-lit subjects are brighter, sharper, and show more color saturation than side-lit or backlit ones. Backlit shots can produce striking silhouettes intentionally, but for feather detail and vivid color, front lighting is the reliable choice.
How do you edit bird photos so they look great when printed?
To edit bird photos for print, start by sharpening for feather detail, adjusting exposure and contrast for a balanced image, and ensuring colors are accurate rather than oversaturated. Editing for print requires a slightly different approach than editing for screens, because printed images often appear slightly darker and less saturated than they look on a monitor.
In Lightroom or any comparable editor, the key adjustments for bird photography are:
- Sharpening: Apply detail sharpening with masking to target feathers without sharpening the background noise
- Noise reduction: Birds are often photographed at high ISO in low light, so luminance noise reduction is frequently necessary
- Exposure and highlights: Recover highlight detail in white or pale feathers, which are prone to clipping
- Clarity and texture: A moderate boost to texture (not clarity) enhances feather detail without making the image look overprocessed
- Cropping: Crop to remove distracting elements and place the bird in a balanced composition, leaving space in the direction the bird is looking
When preparing images for print specifically, convert your files to the sRGB color profile and export at the highest resolution available. A minimum of 300 DPI at the intended print size ensures your images appear crisp and detailed on the page rather than soft or pixelated.
How do you turn your bird photos into a printed photo book worth keeping?
To turn your bird photos into a printed photo book worth keeping, curate your strongest images into a coherent sequence, group them by species, habitat, or season, and choose a print format large enough to showcase feather detail and landscape context. A well-sequenced bird photography book tells a visual story rather than simply displaying a collection of individual shots.
Think about structure before you start laying out pages. A chronological approach works well if your photos span a year of birdwatching. A location-based structure, organized by habitat such as woodland, wetland, and coastline, gives the book a natural, exploratory feel. Grouping by species allows you to show behavioral sequences and multiple angles of the same bird, which is compelling for anyone who shares your interest in wildlife.
Choose your images with restraint. Including only your strongest twenty or thirty shots produces a more impressive result than padding the book with weaker frames. Every photo in a printed book should earn its place, and a tight edit signals confidence and intention to anyone who flips through it.
How PastBook helps you create your bird photography book
We make it easy to go from a folder of carefully edited bird photos to a professionally printed photo book, without any design experience required. Here is what we offer:
- Curation automatique : Our AI selects your best images, removes duplicates, and arranges them into a beautifully designed layout in under 60 seconds
- Formats flexibles : Choose between A4 and A5 sizes, with soft cover, hardcover, or premium hardcover options to suit the quality your photos deserve
- High-quality print: Books are printed on FSC-certified premium paper and shipped worldwide through our network of local printing facilities
- Easy imports: Upload directly from your device, Google Drive, Dropbox, or other sources, so your edited bird photos are ready to use immediately
Your bird photography deserves to live beyond a screen. Start your photo book today and turn your best wildlife shots into a keepsake you will actually hold onto.